
Creating Scenes
Once you have created a Project and at least one Experience added to it, you can start adding scenes. A Scene is where you actually arrange your assets, define actions in response to events and ultimately define how the overall Augmented or Virtual Reality experience will be.
To add a new scene: Open a Project by clicking it in the Projects Manager, Open an existing Experience by clicking it in the experiences’ pane and finally click the + button on the right of the selected Experience‘s scenes pane. When creating a new Scene you are asked for a name, a description and the scene type.
The scene type can be:
- AR
- 360
- HTML5
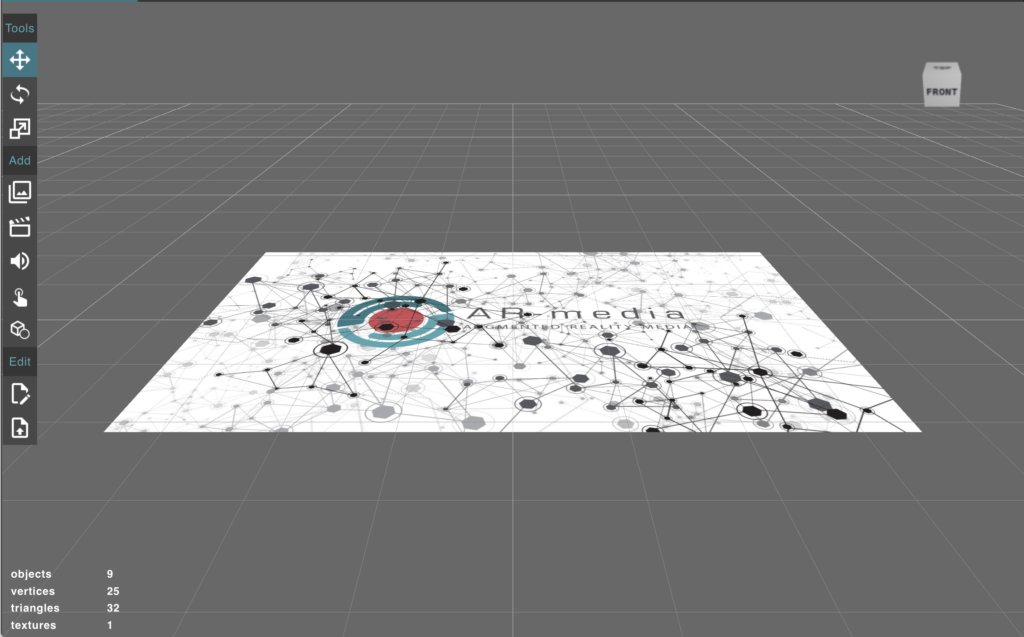
When working within a planar Project, an AR scene type means that you will arrange assets with reference to the trigger image chosen for the Experience the new scene belongs to:
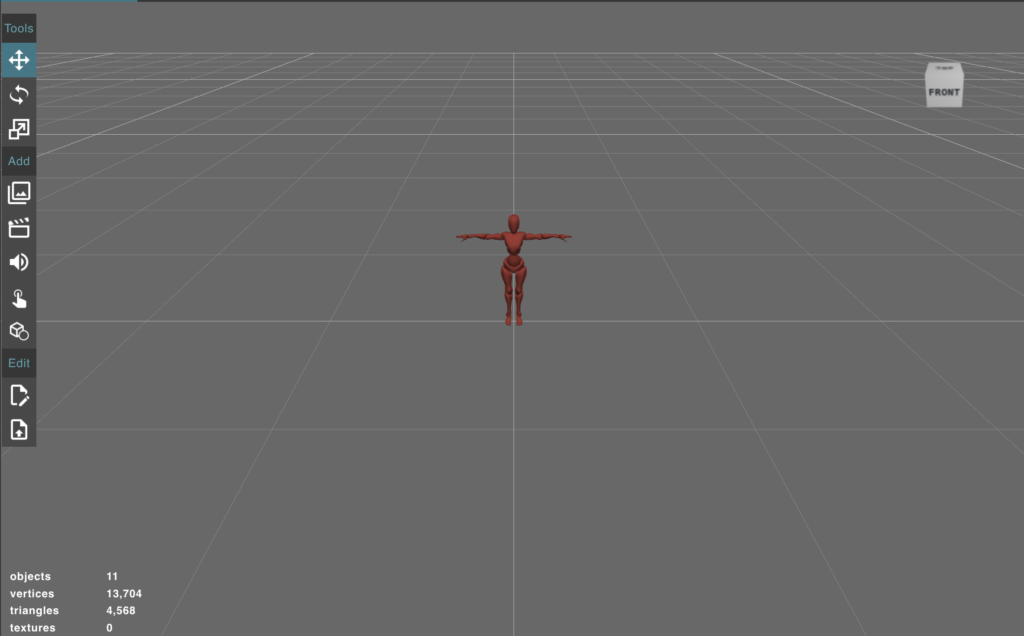
For a spatial Project, an AR scene type means that the scene’s elements will be arranged with reference to the origin (0, 0, 0):
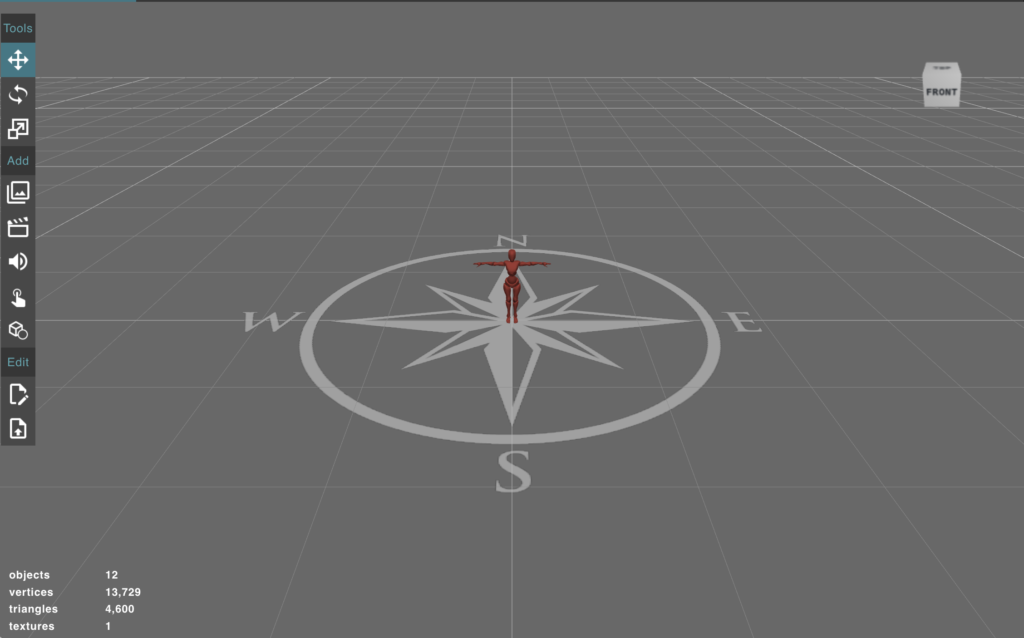
Finally for a geo located Project, an AR scene type means that the scene’s content will be arranged with reference to the origin (0, 0, 0) with the Y axis aiming to the North:
Regardless of the Project‘s type, a 360 scene type means that you have to choose a 360 image or video that will be set as the background of a VR experience where you can add points of interest and buttons:
Regardless of the Project‘s type, a HTML5 scene type means that the content is actually an HTML5 mini-app:
Using HTML5 content you can create a variety of interactive mini-apps, like a chess game, questionnaires and so on.